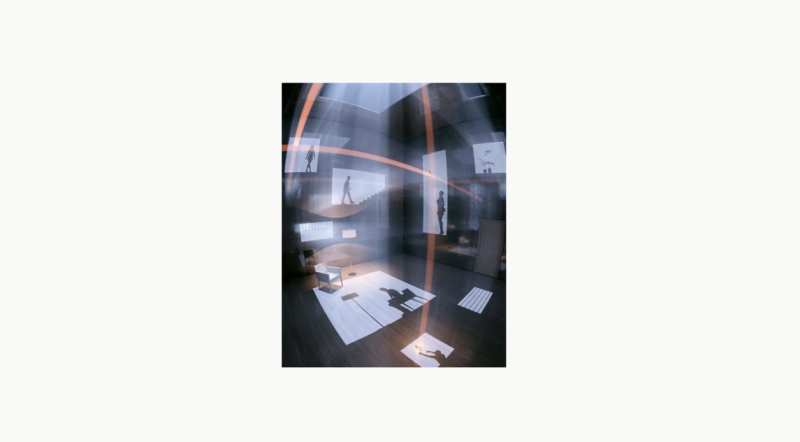
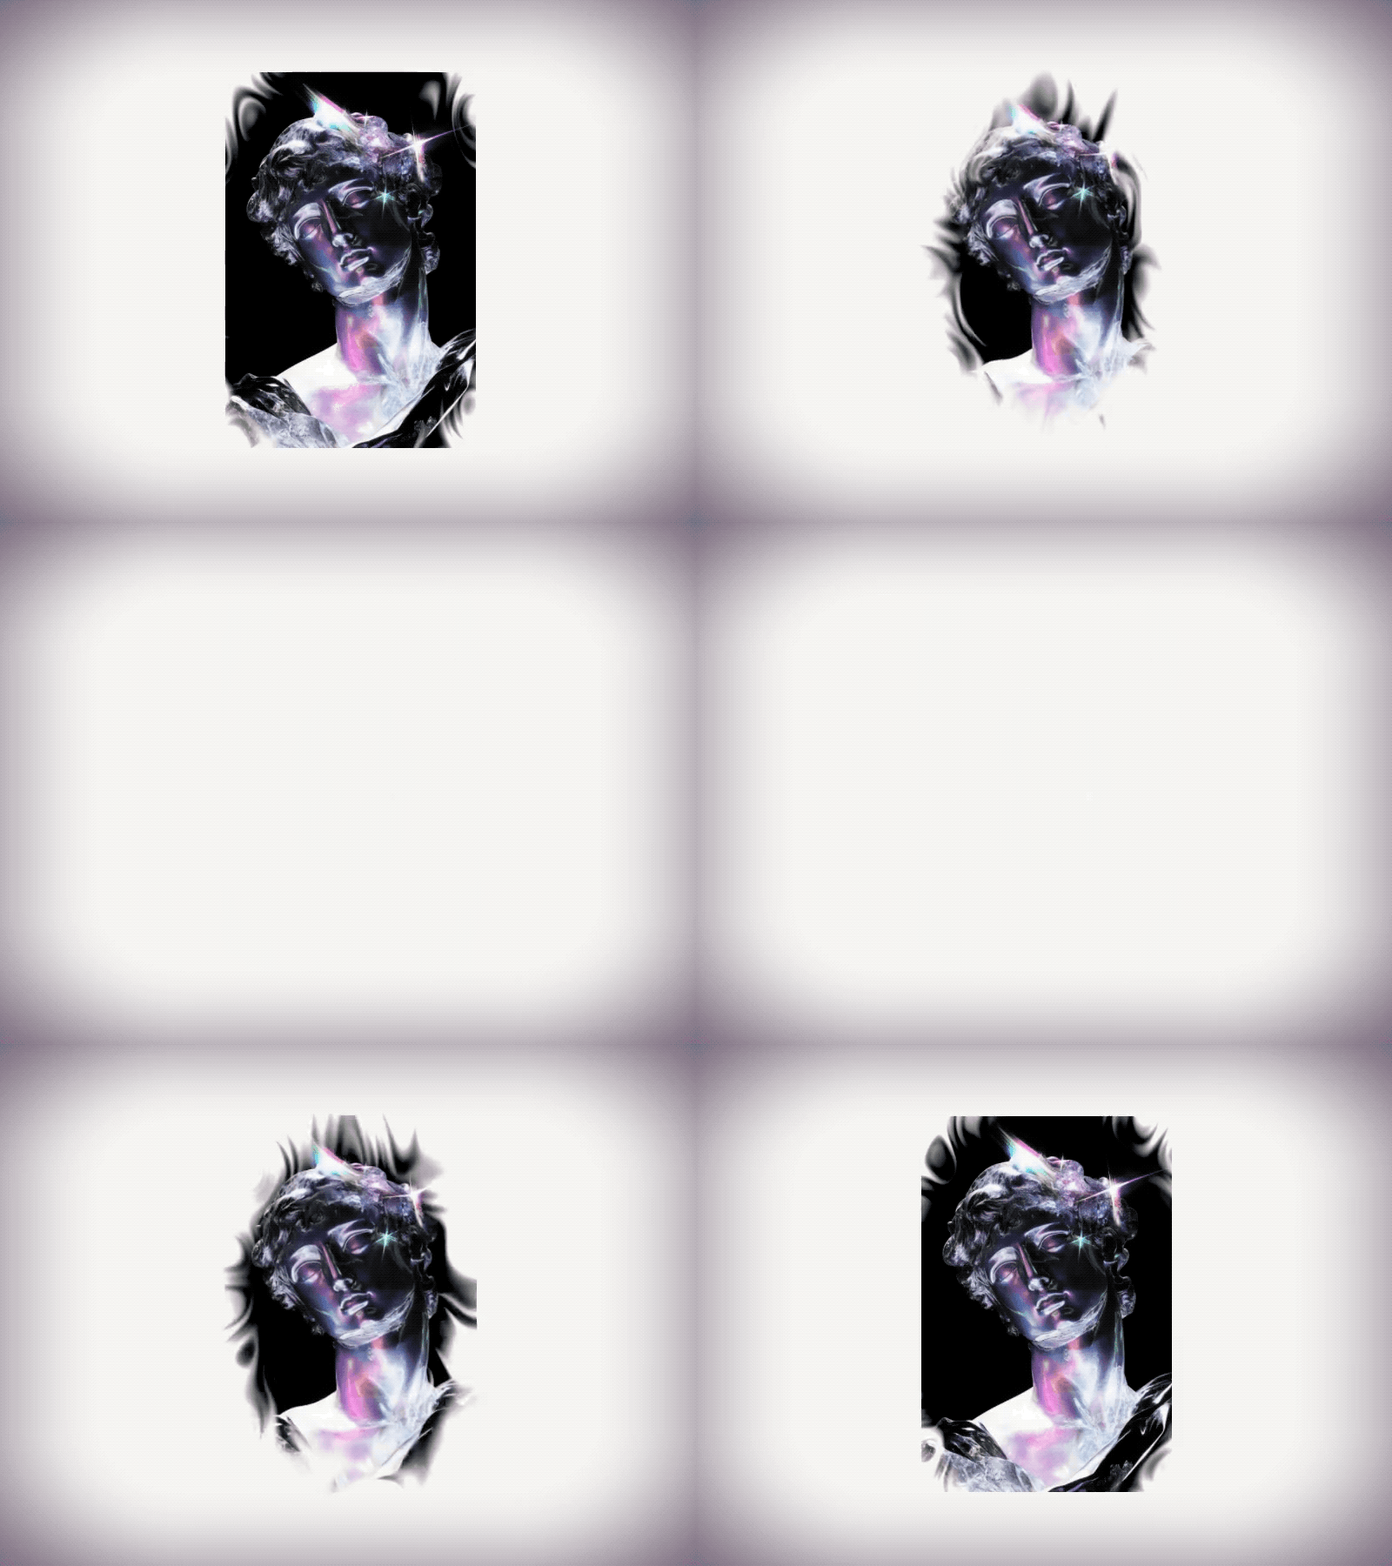
After coming across various types of image reveal effects on X created by some peers, I decided to give it a try and create my own. The idea was to practice R3F and shader techniques while making something that could be easily reused in other projects.
Note: You can find the code for all of the steps as branches in the following Github repo.
Starter Project
The base project is a simple ViteJS React application with an R3F Canvas, along with the following packages installed:
three // ThreeJS & R3F packages
@react-three/fiber @react-three/drei
motion // Previously FramerMotion
leva // To add tweaks to our shader
vite-plugin-glsl // For vite to work with .glsl files
Now that we’re all set, we can start writing our first shader.
Creating a Simple Image Shader
First of all, we’re going to create our vertex.glsl & fragment.glsl in 2 separate files like this:
// vertex.glsl
varying vec2 vUv;
void main()
{ // FINAL POSITION gl_Position = projectionMatrix * modelViewMatrix * vec4(position, 1.0); // VARYINGS vUv = uv;
}
And our fragment.glsl looks like this:
uniform sampler2D uTexture;
varying vec2 vUv;
void main()
{ // Apply texture vec3 textureColor = texture2D(uTexture, vUv).rgb; // FINAL COLOR gl_FragColor = vec4(textureColor, 1.0);
}
Here, we are passing the UV’s of our mesh to the fragment shader and use them in the texture2D function to apply the image texture to our fragments.
Now that the shader files are created, we can create our main component:
import { shaderMaterial, useAspect, useTexture } from "@react-three/drei";
import { extend } from "@react-three/fiber";
import { useRef } from "react";
import * as THREE from "three";
import imageRevealFragmentShader from "../shaders/imageReveal/fragment.glsl";
import imageRevealVertexShader from "../shaders/imageReveal/vertex.glsl"; const ImageRevealMaterial = shaderMaterial( { uTexture: new THREE.Texture(), }, imageRevealVertexShader, imageRevealFragmentShader, (self) => { self.transparent = true; }
); extend({ ImageRevealMaterial }); const RevealImage = ({ imageTexture }) => { const materialRef = useRef(); // LOADING TEXTURE & HANDLING ASPECT RATIO const texture = useTexture(imageTexture, (loadedTexture) => { if (materialRef.current) { materialRef.current.uTexture = loadedTexture; } }); const { width, height } = texture.image; const scale = useAspect(width, height, 0.25); return ( <mesh scale={scale}> <planeGeometry args={[1, 1, 32, 32]} /> <imageRevealMaterial attach="material" ref={materialRef} /> </mesh> );
}; export default RevealImage;
Here, we create the base material using shaderMaterial from React Three Drei, and then extend it with R3F to use it in our component.
Then, we load the image passed as a prop and handle the ratio of it thanks to the useAspect hook from React-Three/Drei.
We should obtain something like this:

Adding the base effect
(Special mention to Bruno Simon for the inspiration on this one).
Now we need to add a radial noise effect that we’re going to use to reveal our image, to do this, we’re going to use a Perlin Noise Function and mix it with a radial gradient just like this:
// fragment.glsl
uniform sampler2D uTexture;
uniform float uTime; varying vec2 vUv; #include ../includes/perlin3dNoise.glsl void main()
{ // Displace the UV vec2 displacedUv = vUv + cnoise(vec3(vUv * 5.0, uTime * 0.1)); // Perlin noise float strength = cnoise(vec3(displacedUv * 5.0, uTime * 0.2 )); // Radial gradient float radialGradient = distance(vUv, vec2(0.5)) * 12.5 - 7.0; strength += radialGradient; // Clamp the value from 0 to 1 & invert it strength = clamp(strength, 0.0, 1.0); strength = 1.0 - strength; // Apply texture vec3 textureColor = texture2D(uTexture, vUv).rgb; // FINAL COLOR // gl_FragColor = vec4(textureColor, 1.0); gl_FragColor = vec4(vec3(strength), 1.0);
}
You can find the Perlin Noise Function here or in the code repository here.
The uTime is used to modify the noise shape in time and make it feel more lively.
Now we just need to modify slightly our component to pass the time to our material:
const ImageRevealMaterial = shaderMaterial( { uTexture: new THREE.Texture(), uTime: 0, }, ...
); // Inside of the component
useFrame(({ clock }) => { if (materialRef.current) { materialRef.current.uTime = clock.elapsedTime; }
});
The useFrame hook from R3F runs on each frame and provides us a clock that we can use to get the elapsed time since the render of our scene.
Here’s the result we get now:


You maybe see it coming, but we’re going to use this on our Alpha channel and then reduce or increase the radius of our radial gradient to show/hide the image.
You can try it yourself by adding the image to the RGB channels of our final color in the fragment shader and the strength to the alpha channel. You should get something like this:
Now, how can we animate the radius of the effect.
Animating the effect
To do this, it’s pretty simple actually, we’re just going to add a new uniform uProgress in our Fragment Shader that will go from 0 to 1 and use it to affect the radius:
// fragment.glsl
uniform float uProgress; ... // Radial gradient
float radialGradient = distance(vUv, vec2(0.5)) * 12.5 - 7.0 * uProgress; ... // Opacity animation
float opacityProgress = smoothstep(0.0, 0.7, uProgress); // FINAL COLOR
gl_FragColor = vec4(textureColor, strength * opacityProgress);
We’re also using the progress to add a little opacity animation at the start of the effect to hide our image completely in the beginning.
Now we can pass the new uniform to our material and use Leva to control the progress of the effect:
const ImageRevealMaterial = shaderMaterial( { uTexture: new THREE.Texture(), uTime: 0, uProgress: 0, }, ...
); ...
// LEVA TO CONTROL REVEAL PROGRESS
const { revealProgress } = useControls({ revealProgress: { value: 0, min: 0, max: 1 },
}); // UPDATING UNIFORMS
useFrame(({ clock }) => { if (materialRef.current) { materialRef.current.uTime = clock.elapsedTime; materialRef.current.uProgress = revealProgress; }
});
Now you should have something like this:
We can animate the progress in a lot of different ways. To keep it simple, we’re going to create a button in our app that will animate a revealProgress prop of our component using motion/react (previously Framer Motion):
// App.jsx // REVEAL PROGRESS ANIMATION
const [isRevealed, setIsRevealed] = useState(false);
const revealProgress = useMotionValue(0); const handleReveal = () => { animate(revealProgress, isRevealed ? 0 : 1, { duration: 1.5, ease: "easeInOut", }); setIsRevealed(!isRevealed);
}; ... <Canvas> <RevealImage imageTexture="./img/texture.webp" revealProgress={revealProgress} />
</Canvas> <button onClick={handleReveal} className="yourstyle"
> SHOW/HIDE
</button>
We’re using a MotionValue from motion/react and passing it to our component props.
Then we simply have to use it in the useFrame hook like this:
// UPDATING UNIFORMS
useFrame(({ clock }) => { if (materialRef.current) { materialRef.current.uTime = clock.elapsedTime; materialRef.current.uProgress = revealProgress.get(); }
});
You should obtain something like this:
Adding displacement
One more thing I like to do to add more “life” to the effect is to displace the vertices, creating a wave synchronized with the progress of the effect. It’s actually quite simple, as we only need to slightly modify our vertex shader:
uniform float uProgress;
varying vec2 vUv; void main()
{ vec3 newPosition = position; // Calculate the distance to the center of our plane float distanceToCenter = distance(vec2(0.5), uv); // Wave effect float wave = (1.0 - uProgress) * sin(distanceToCenter * 20.0 - uProgress * 5.0); // Apply the wave effect to the position Z newPosition.z += wave; // FINAL POSITION gl_Position = projectionMatrix * modelViewMatrix * vec4(newPosition, 1.0); // VARYINGS vUv = uv;
}
Here, the intensity and position of the wave depends on the uProgress uniform.
We should obtain something like this:
It’s quite subtle but it’s the kind of detail that makes the difference in my opinion.
Going further
And here it is! You have your reveal effect ready! I hope you had some fun creating this effect. Now you can try various things with it to make it even better and practice your shader skills. For example, you can try to add more tweaks with Leva to personalize it as you like, and you can also try to animate it on scroll, make the plane rotate, etc.
I’ve made a little example of what you can do with it, that you can find on my Twitter account here.
Thanks for reading! 🙂


