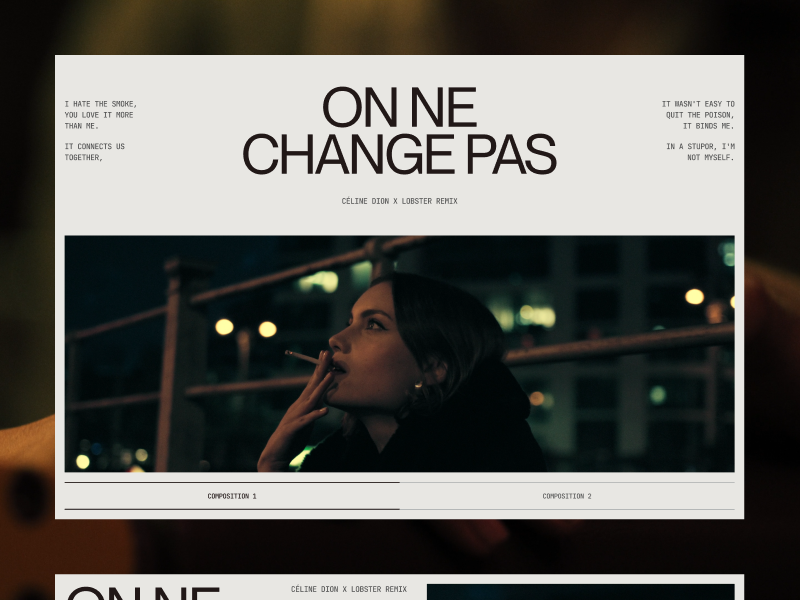
Hey everyone, I’m Alex Tkachev, a Digital Designer from Kazakhstan. I started my career in 2015 as a web developer, then fully transitioned into the design field after one year in development. I’m a big fan of 404 pages and a nature lover.
In this article, we will take you behind the scenes to explore the creation process of a fascinating animation. Make sure to turn on the sound when you watch it for the full experience.
The Idea
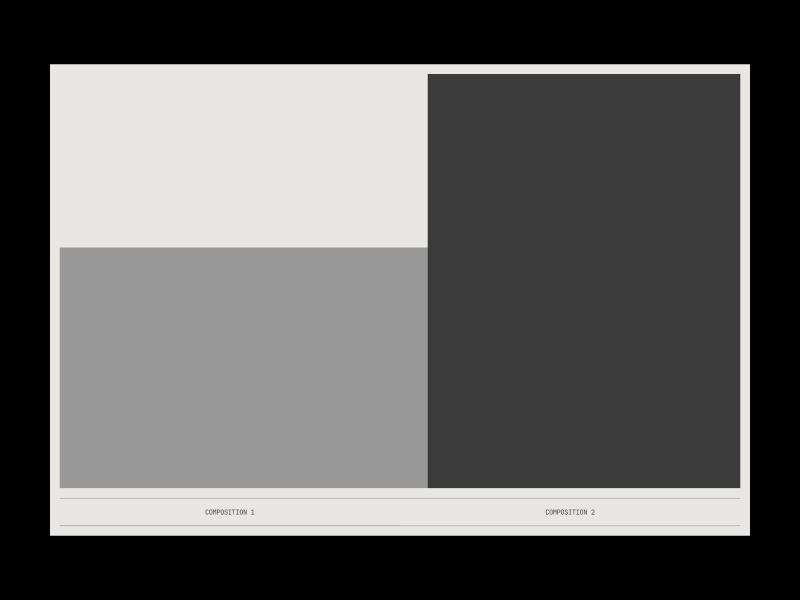
Initially, the idea was to create a smooth transition from one composition to another without using “simple tricks” to conceal it, such as fade effects or smooth color overlays. Therefore, the initial structure (wireframe) was already in my mind as soon as I envisioned what I wanted to create.
Inspiration & References
1. In terms of references, there were only two. The first reference concerns typography. I liked how “Querida” used the combination of Sans Serif and Mono fonts in their project “Solange”. In this project, I used these fonts: PP Neue Montreal by PangramPangram and JetBrains Mono by JetBrains.
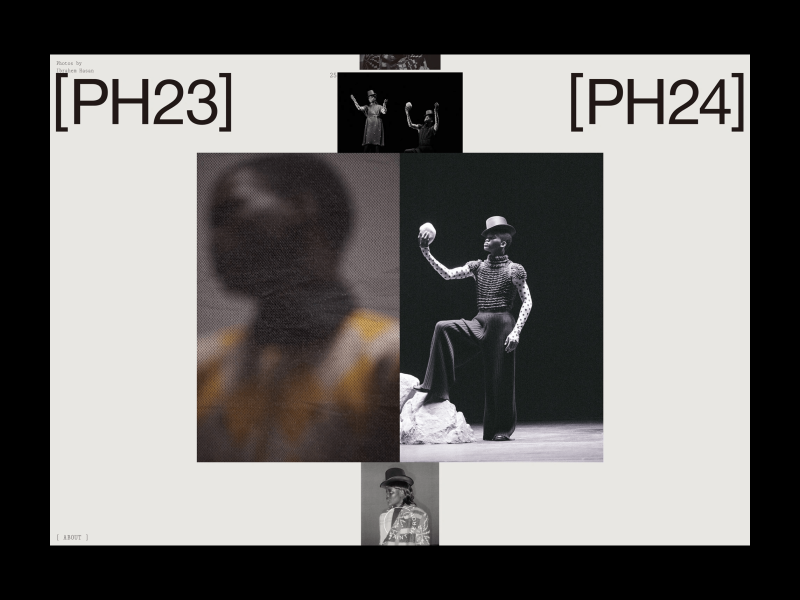
2. The second reference by the “Balkan Brothers” was useful in terms of smooth color transitions (right card). It inspired the bottom part of my animation where the compositions switch: Composition 1/Composition 2.
Music & AI Used for the Project
I’m a melomaniac, so I listen to all genres of music. Initially, I came across a music video by an artist named Lobster, and I really liked the lyrics, vibe, and visuals, as well as his remix of a Céline Dion song.
I downloaded the original MP3 files of both songs, but since I needed to separate the instrumental and vocals from the Lobster music video, I used the AI tool “audeo.ai”. This tool records any sounds from your browser, whether it’s a video, music, voice message, and so on. Additionally, this AI allows you to separate the instrumental and vocals into two separate files.
Editing Music in Audacity
Since I have experience in sound editing (when I was a teenager, I was into music and recorded my projects using Audacity), I always tell beginners in our field: “Any skill you have can be useful both for you and for the client/team you work with.”
So, I imported all the MP3 files into Audacity: the two separate MP3 files from the Lobster music video and the full version of the Céline Dion song.
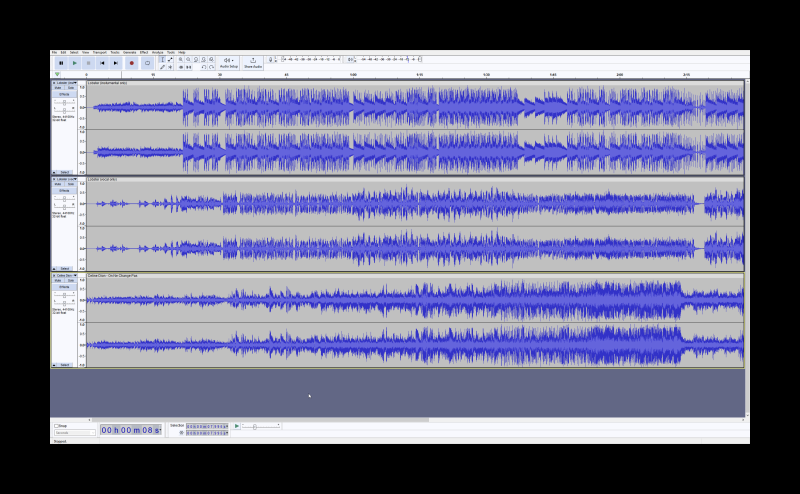
Then I started editing all the tracks to achieve a sound balance between them. From the original Céline Dion song, I only needed the initial instrumental (just a few seconds) to apply a pitch effect to it and integrate it into the remix from Lobster.
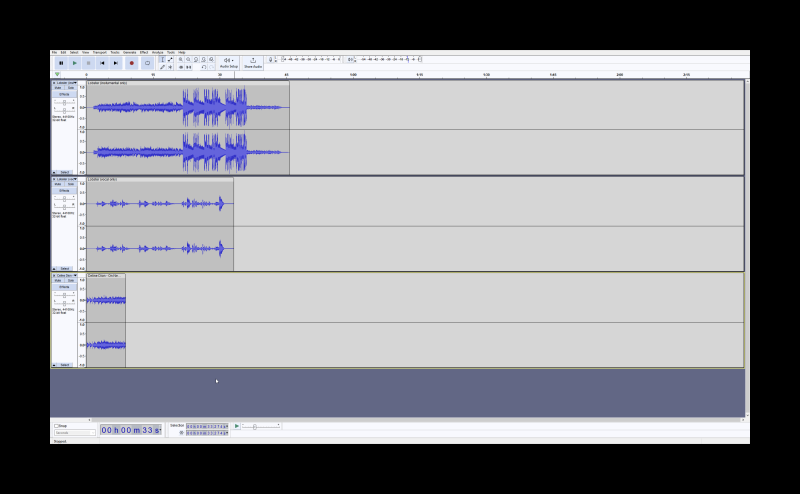
Next, I applied a few standard effects: a slight pitch adjustment and fade in/fade out effects, as I always strive to create looped animations. It was important for me that the sound gradually faded out and then gradually started again. And this is what came out of it all 🔊
Design Process
Since the wireframe was already prepared, and the idea was ready along with the text for the content, I started creating the composition to see how it would work with the text. So, I made two drafts with placeholders for videos.
Next, I began searching for visuals. I wanted to convey the mood of both songs simultaneously. The search for these visuals was significantly influenced by the Lobster music video. I used the platform Artlist, which has a HUGE collection of footage on various themes.
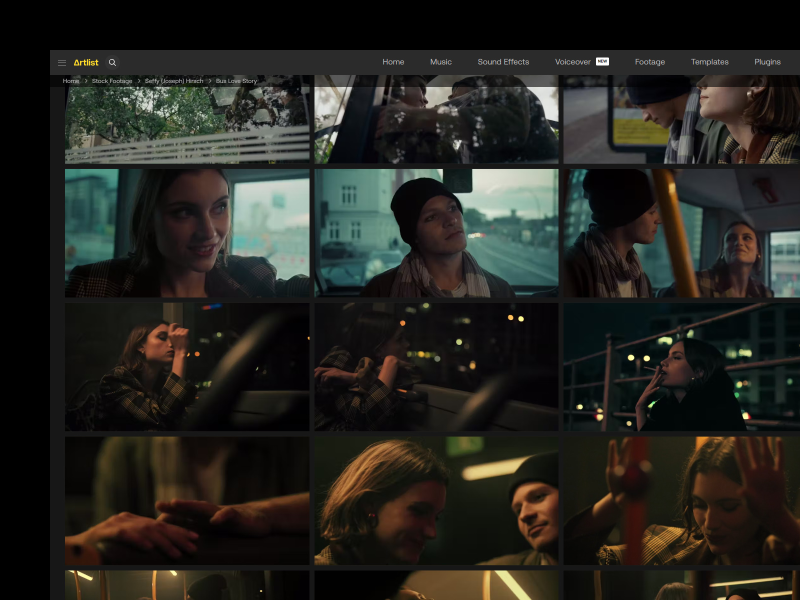
I spent several hours searching until I came across the “Bus Love Story” collection by Seffy (Joseph) Hirsch. As soon as I saw the vibe, atmosphere, and color correction, I realized that this was what I needed.
Animation Process
I want to briefly describe the animation process. For each of my animations, I use several plugins that help and at the same time facilitate work in After Effects:
- AEUX (a plugin that allows you to transfer files from Figma to After Effects. The most important advice to avoid any problems with file transfer from Figma using this plugin: use Auto-Layout, as layers using auto-layout are perceived by After Effects as separate compositions that you will work with).
- Motion 4 (personally, I use this plugin for quickly setting anchor points and for smoothing animations, but it has many different properties).
- TextExploder (a plugin that allows you to split an entire text block into separate lines, words, and letters).
Overall, the animation took about 2-3 hours. The main difficulty in this project was to make the transition from one composition to another as smooth as possible (this concerns only the video). I used the same placeholders from the wireframes to use them in After Effects as masks, under which I adjusted the video.
I also applied a barely noticeable smoke layer to the final video to add detail and focus on the atmosphere. Regarding the smoothness of the animation, I used the approach advised by Matt Hall (thank you, Matt ✌😉), which involves building the graph based on easy ease and then working with it to create something like a “Peak Speed Graph”.
Final Result & Conclusion
Just as at the beginning of this article, at the end, you can see the final result that spontaneously came to my mind because I simply saw a music video. Therefore, always try to find inspiration everywhere; don’t limit yourself in this.
Creativity is a huge structure that can be expressed in various ways and paths. I am glad that I achieved such a conceptual design that many people liked. I am happy that I learned a new technique and discovered smooth transitions from one composition to another.
We are constantly learning and improving ourselves, so in the end, I want to tell you all to believe in yourself and your abilities, constantly improve them, experiment more, and don’t be afraid to be who you are. Be yourself, be kind to yourself and to others as well.
With all respect, your friendly neighbor on planet Earth,
Alex ✌😉

